How to create OTP input using Alpine.js and Tailwind CSS
Rajesh Dewle | 29 Dec 2020
Introduction
Alpine.js minimal library created by Caleb Porzio allows us to write JavaScript as a reactive and declarative code as an inline HTML. It's a Vue.js template flavoured. Target is to fill in the gap jQuery and major frameworks like Vue.js and React. Not meant to replace framework like Vue.js or react. Use case is for when minimal JavaScript is a needed like drop-downs, tabs, modals etc. and it's great for server-rendered apps like Laravel or Rails where you just a need to toggle some JavaScript components.
In this tutorial, we are going to create a simple OTP/Pin input using Alpine.js and Tailwind CSS. Here we create multiple inputs to enter OTP/Pin. You can paste them or enter manually if you want.
Installation.
First, we need to create index.html file in OTP folder. Now just insert the CDN bellow to the end of the <head> section of your HTML file. Or you can install it with NPM as well.
<script src="https://cdn.jsdelivr.net/gh/alpinejs/alpine@v2.7.3/dist/alpine.min.js" defer></script>
We also need Tailwind CSS which I use below CDN. Otherwise installing Tailwind CSS can be a slightly different process depending on what other frameworks/tools you're using. check it out
Tailwind CSS installation.
Add the following CDN to the <head> tag.
<link href="https://unpkg.com/tailwindcss@^2/dist/tailwind.min.css" rel="stylesheet">
Now our index.html code should look something like this and the page should be blank.
File: OTP/index.html
<!DOCTYPE html>
<html lang="en">
  <head>
    <meta charset="UTF-8" />
    <meta name="viewport" content="width=device-width, initial-scale=1.0" />
    <title>OTP/Pin Number Module</title>

    <!-- Tailwind CSS -->
    <link
      href="https://unpkg.com/tailwindcss@^2/dist/tailwind.min.css"
      rel="stylesheet"
    />
    <!-- Alpine.js -->
    <script
      src="https://cdn.jsdelivr.net/gh/alpinejs/alpine@v2.7.3/dist/alpine.min.js"
      defer
    ></script>
  </head>
  <body>
    <div>
      <!-- Content goes here -->
    </div>
  </body>
</html>
Create a simple form
Now we need to create a form.
File: OTP/index.html
<!-- ... -->
<body>
  <div class="py-6 px-6 w-80 border mx-auto text-center my-6">
    <form action="#" x-data="otpForm()" method="POST">
      <!-- ... -->
    </form>
  </div>
  <script>
    function otpForm() {
      return {
        length: 6,
        value: "",
      };
    }
  </script>
</body>
<!-- ... -->
The first step to using Alpine is to define a state. The state goes wherever it is needed and has the same scope as the HTML selector you put in.
In the code above, we declare scope using x-data directive by passing with the function otpForm and set the value of the state. And added some Tailwind CSS classes for styles.
Create a input fields.
In the above code, we define length with default value 6. You can change as per your input field. Because here we are going to use a for-each loop and that depends on this length.
In alpine js to use for each loop, we need to use the 'x-for' directive. And create new DOM nodes for each item in an array. Needs to be used on a <template> tag.
File: OTP/index.html
<!-- ... -->
<form action="#" x-data="otpForm()" method="POST">
  <div class="flex justify-between">
    <template x-for="(input, index) in length" :key="index">
      <input
        type="tel"
        maxlength="1"
        class="border border-gray-500 w-10 h-10 text-center"
      />
    </template>
  </div>
</form>
<!-- ... -->
Refresh your browser page and you can see 6 input fields. Here we want to add a hidden input field to store OTP/Pin value. Add below code before closing the form tag.
<input type="hidden" name="otp" x-model="value">
Add x-model directive for two-way data binding to an element. After the hidden input field we are going to add a ‘verify’ button to submit the form.
<button type="submit" class="btn-primary mx-auto block bg-gray-500 w-full p-2 mt-2 text-white">Verify OTP!</button>
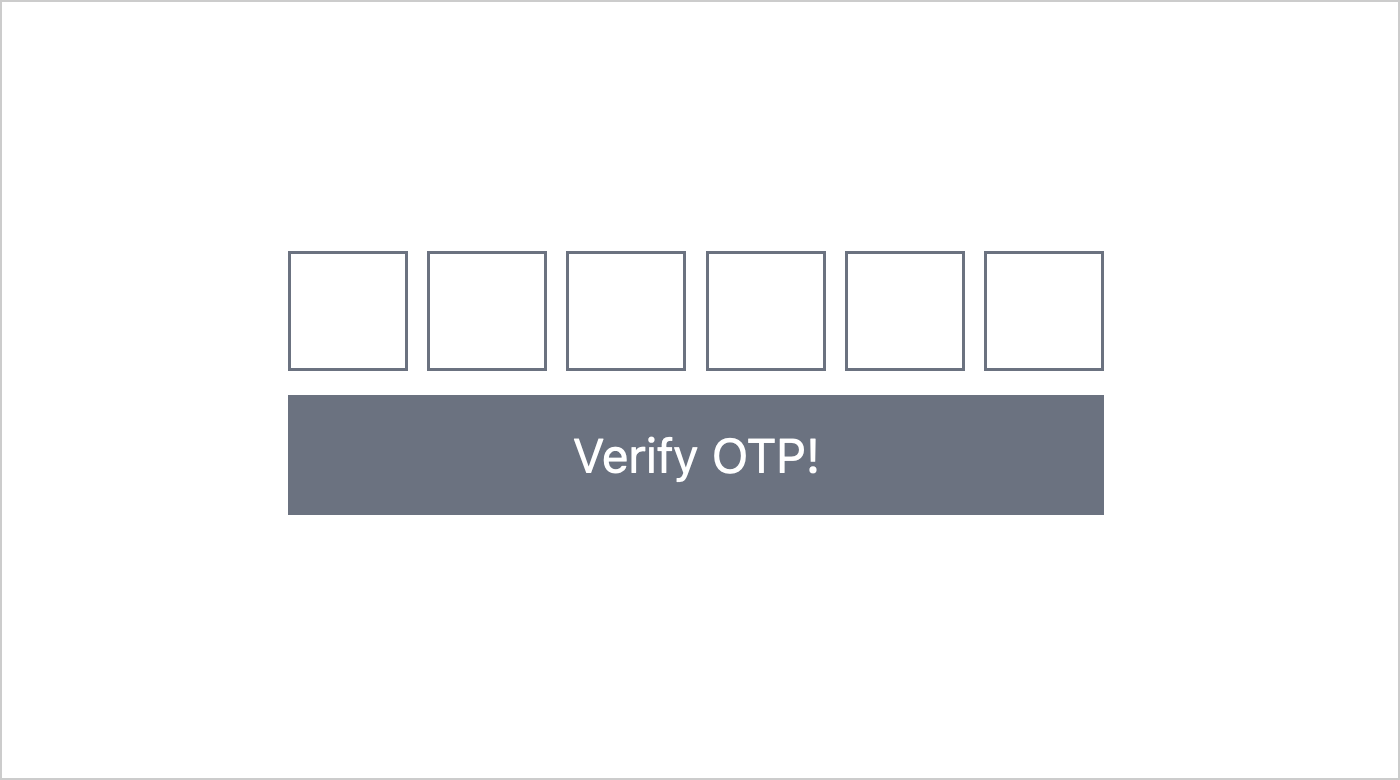
Now your form code should look something like this and the page should be your form with 6 input fields.
File: OTP/index.html
<!-- ... -->
<form action="#" x-data="otpForm()" method="POST">
  <div class="flex justify-between">
    <template x-for="(input, index) in length" :key="index">
      <input
        type="tel"
        maxlength="1"
        class="border border-gray-500 w-10 h-10 text-center"
      />
    </template>
  </div>
  <input type="hidden" name="otp" x-model="value" />
  <button
    type="submit"
    class="btn-primary mx-auto block bg-gray-500 w-full p-2 mt-2 text-white"
  >
    Verify OTP!
  </button>
</form>
<!-- ... -->
Add some logic
We want to handle input event, paste event and backspace key event.
Handle Inputs:
Now time to handle input event, for that we need to add x-on:input event listener to input fields with handleInput($event) method and pass the event to this method. also x-ref directive to retrieve DOM elements marked with x-ref inside the component with index value.
File: OTP/index.html
<!-- ... -->
<input
  type="tel"
  maxlength="1"
  class="border border-gray-500 w-10 h-10 text-center"
  :x-ref="index"
  x-on:input="handleInput($event)"
/>
<!-- ... -->
And in our otpForm() function we need to add handleInput method with some logic.
File: OTP/index.html
return {
  // ...
  handleInput(e) {
    const input = e.target;

    this.value = Array.from(Array(this.length), (element, i) => {
      return this.$refs[i].value || "";
    }).join("");

    if (input.nextElementSibling && input.value) {
      input.nextElementSibling.focus();
      input.nextElementSibling.select();
    }
  },
};
In the above code, we added handleInput method, When input in the input field its trigger and check the value length and set the event value to state value. After that, if condition checks the nextElementSibling and input value in available that time focus and select on the next input filed.
Handle Paste:
Now we handling paste event. for that, we need to add x-on:paste event listener to input fields with handlePaste($event) method and pass the event to this method.
File: OTP/index.html
<!-- ... -->
<input
  type="tel"
  maxlength="1"
  class="border border-gray-500 w-10 h-10 text-center"
  :x-ref="index"
  x-on:input="handleInput($event)"
  x-on:paste="handlePaste($event)"
/>
<!-- ... -->
And in our otpForm() function we need to add handlePaste method with some logic.
File: OTP/index.html
return {
  // ...
  handlePaste(e) {
    const paste = e.clipboardData.getData("text");
    this.value = paste;

    const inputs = Array.from(Array(this.length));

    inputs.forEach((element, i) => {
      this.$refs[i].value = paste[i] || "";
    });
  },
};
In the above code, we added the handlePaste method, when we paste the OTP/Pin it's a trigger and get the event. first, it's getting the value from the clipboardData as a text and store them in a paste variable. Then assign this value to value state.
After that create a simple array with the length that we declare in the state. And assign the value to each element index that is marked with 'x-ref' by using forEach loop.
Handle Backspace:
Now we need to handle the backspace key down event. For that we need to add @keydown.backspace event listener to the input field with handleBackspace method with the passing index value.
File: OTP/index.html
<!-- ... -->
<input
  type="tel"
  maxlength="1"
  class="border border-gray-500 w-10 h-10 text-center"
  :x-ref="index"
  x-on:input="handleInput($event)"
  x-on:paste="handlePaste($event)"
  x-on:keydown.backspace="$event.target.value || handleBackspace($event.target.getAttribute('x-ref'))"
/>
<!-- ... -->
In the above code we added keydown.backspace event, Here we trigger the event value or handleBackspace method. And in our handleBackspace method, we need to add the following logic.
File: OTP/index.html
return {
  // ...
  handleBackspace(e) {
    const previous = parseInt(e, 10) - 1;
    this.$refs[previous] && this.$refs[previous].focus();
  },
};
In the above code, we added handleBackspace method. When we press the backspace button it's a trigger and convert them in integer and assign to previous variable with decreasing with 1 then focus the previous input field.
Code available on github: https://github.com/rajeshdewle/otp-pin-using-alpine-js-and-tailwindcss